파이썬(Python)/tkinter
Python tkinter Canvas 함수 및 옵션 예제로 이해하기
끄적끄적아무거나
2021. 9. 8. 08:50
Python tkinter Canvas 함수 및 옵션 예제로 이해하기
파이썬 tkinter에서 도형 그리기 라이브러리 canvas를 사용해서 그림을 그리고 옵션 기능을 예제를 통해서 설명하겠다.
Canvas 선그리기 create_line - 코드>>
from tkinter import *
app = Tk()
width = 600
height = 400
pos_x = width/2
pos_y = height/2
canvas = Canvas(app, width=width, height=height, bg="white")
canvas.pack(padx=10, pady=10)
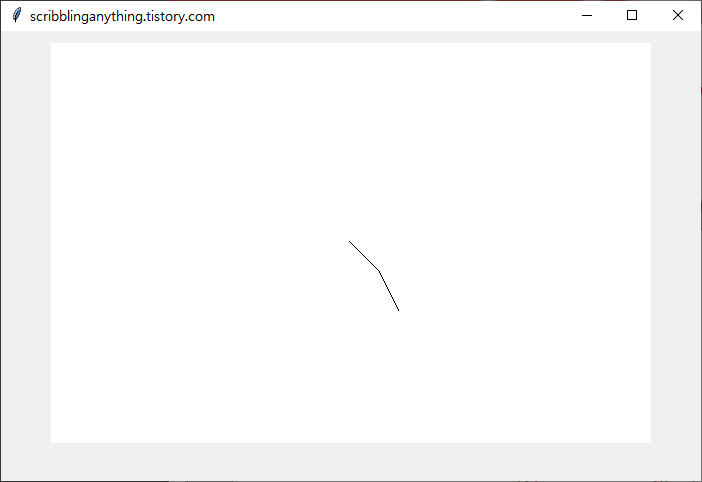
shapes = canvas.create_line(width/2, height/2, pos_x+30, pos_y+30, pos_x+50, pos_y+70, fill="black")
app.title('scribblinganything.tistory.com')
app.geometry("700x450")
app.mainloop()
결과>>
주석>>
create_line(x0, y0, x1, y1, .... xn, yn)
그림처럼 x,y 점을 추가해서 선을 계속 그릴 수 있다.
Canvas 타원/원 그리기 create_oval - 코드>>
from tkinter import *
app = Tk()
width = 600
height = 400
pos_x = width/2
pos_y = height/2
canvas = Canvas(app, width=width, height=height, bg="white")
canvas.pack(padx=10, pady=10)
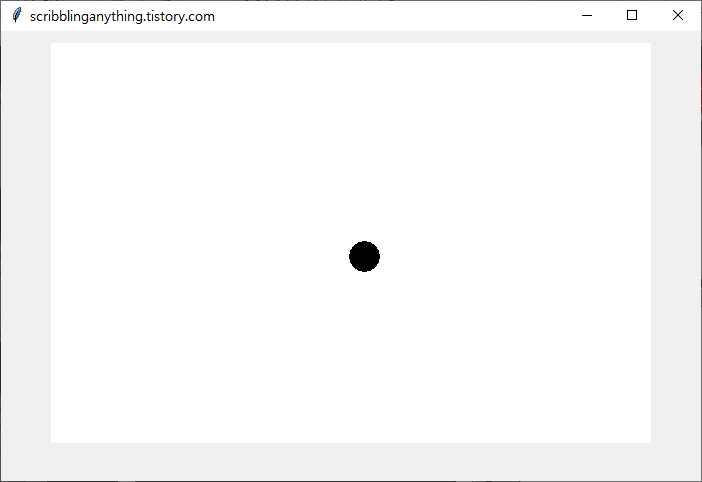
shapes = canvas.create_oval(width/2, height/2, pos_x+30, pos_y+30, fill="black")
app.title('scribblinganything.tistory.com')
app.geometry("700x450")
app.mainloop()
결과>>
주석>>
create_oval(x0,y0,x1,y1)
사각형의 모서리 끝점을 그리고 그안에 원을 그린다. 정사각형 형태이면 원이 나오고 직사각형이면 타원이 나온다.
Canvas 사각형/다각형 그리기 create_polygon - 코드>>
from tkinter import *

app = Tk()

width = 600
height = 400
pos_x = width/2
pos_y = height/2

canvas = Canvas(app, width=width, height=height, bg="white")
canvas.pack(padx=10, pady=10)
shapes = canvas.create_polygon(width/2, height/2,  pos_x+15, height/2,   pos_x+15, pos_y+15,  width/2, pos_y+15, fill="black")

app.title('scribblinganything.tistory.com')
app.geometry("700x450")
app.mainloop()
결과>>

주석>>
create_polygon(x0, y0, x1, y1, .... xn, yn)
그리고자 하는 도형의 꼭지점을 표기한다. 점을 한방향으로 순서대로 그려야 도형 형태가 나옴
Canvas 이미지/그림 파일 넣기 - 코드>>
from tkinter import *

app = Tk()

width = 600
height = 400
pos_x = width/2
pos_y = height/2

canvas = Canvas(app, width=width, height=height, bg="white")
canvas.pack(padx=10, pady=10)
img_path = PhotoImage(file=r"C:\Users\forgo\Desktop\test2.gif")
shapes = canvas.create_image(width/2, height/2, image = img_path)

app.title('scribblinganything.tistory.com')
app.geometry("700x450")
app.mainloop()
결과>>
주석>>
이미지 파일을 canvas에 넣기 위해서는 PhotoImage라는 함수로 파일의 경로를 지정해야 한다. 그리고 그 결로를 create_image에 넣어주면 된다.
Canvas Option
- width : 너비
- height : 높이
- relief : 테두리 형태 - ridge, solid, flat, groove, raised, sunken
- borderwidth, bd : 테두리 두께
- background, bg : 캔버스 색상
Canvas Option - 형태 구성 - 코드>>
from tkinter import *

app = Tk()

width = 600
height = 400
pos_x = width/2
pos_y = height/2

canvas = Canvas(app, width=width, height=height, bg="white", bd=5, relief="ridge")
canvas.pack(padx=10, pady=10)
shapes = canvas.create_polygon(width/2, height/2,  pos_x+15, height/2,   pos_x+15, pos_y+15,  width/2, pos_y+15, fill="black")

app.title('scribblinganything.tistory.com')
app.geometry("700x450")
app.mainloop()
결과>>
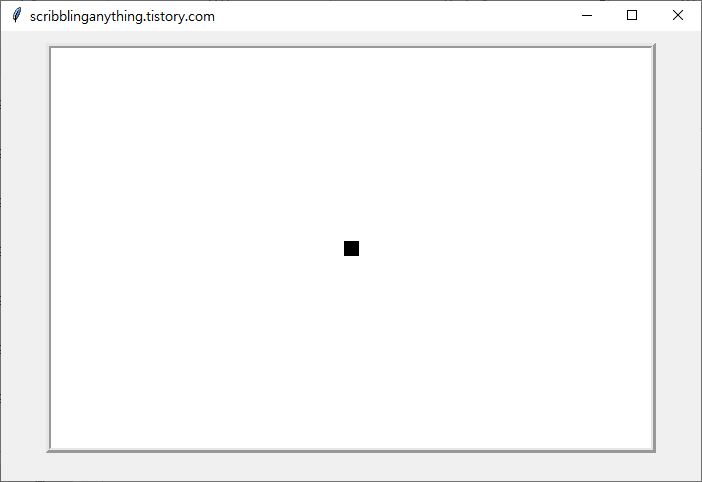
주석>>
Canvas 입력으로 여러 option 값들을 적용한 결과가 위와 같다.